Here i gonna explain about the steps through which tomcat server is configured in eclipse. I assume that you have downloaded Tomcat and eclipse in your system. If not, please visit the below link and get it. One good thing about Eclipse and tomcat is that there are no such installation procedures. Just download the files, extract and put it in a folder (say java).
Eclipse – Click Here
Tomcat – Click Here
Now follow the installation steps:
1. Lets open eclipse IDE. It will look like this.

2. People who were not having server tab by default , follow step 2 and step 3 . If by default, Servers tab is not there, we need to pull it from windows->Show View->other

3. Type “Servers” . you will get servers menu and click okay.

4. Once you click okay, Servers tab will get added at the bottom

5. Now, we need to add a tomcat server. For that , right click on the server menu and select New -> Server.

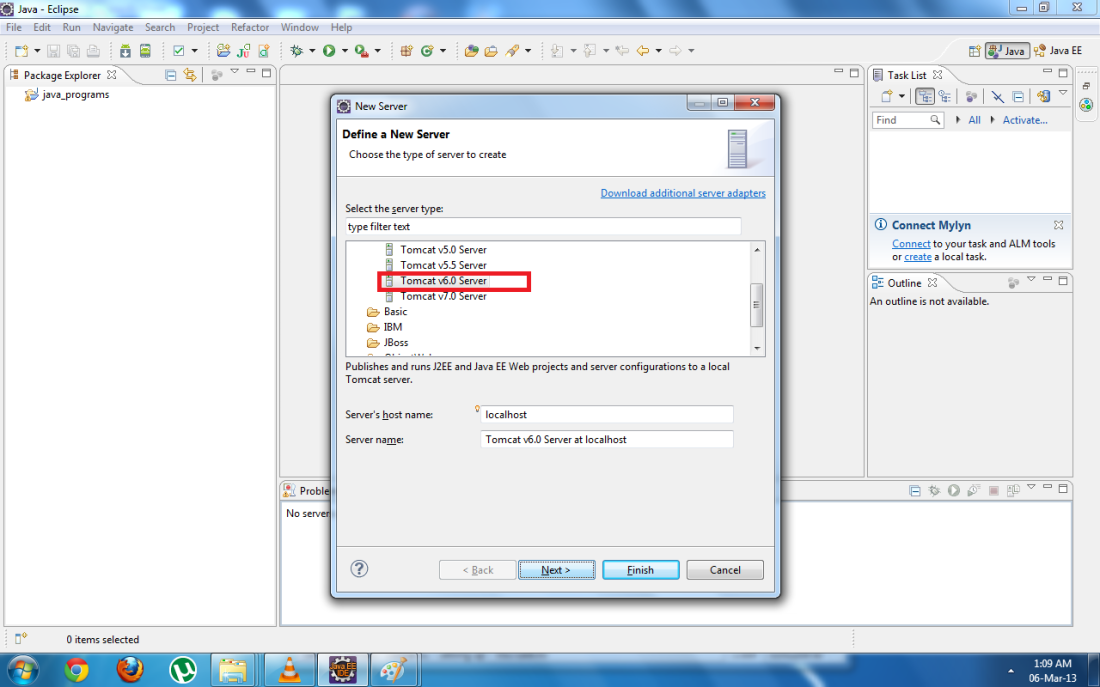
6. By clicking on new servers you will get list of servers as shown below

7. Based on your tomcat version download , select your version. i have tomcat 6.0.32 and hence i am choosing Tomcat 6.0.
8. Once you click next you will get a screen where in you need enter the location of tomcat
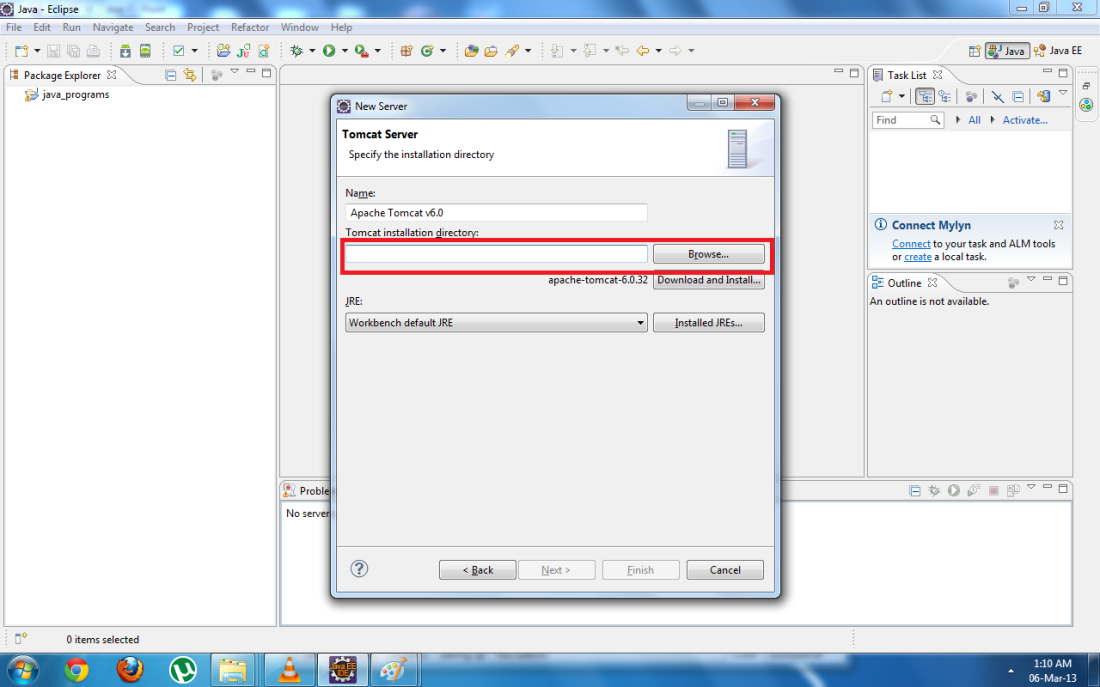
9. Here we are locating the path

10. The next thing that we need to change is JRE. By default its workbench JRE. if you have installed any JRE you can choose that from drop down

11. Thats it click finish and you can see an entry in package explorer and Servers tab

12. Config is done. Lets start the server. For that we need to right click on the tomcat server in servers tab and select start

13. Once the tomcat server starts we will get a message like this

14. Thats it .. We are done.. just check it through web by giving the url localhost:8080. you need to get this page

But sometimes, we wont be getting the tomcat up and running. People who face this issue continue with the follow steps. You may get like

15. Right click on the tomcat server in server menu and click properties

16. By default workspace location will be “Workspace Metadata”.

17. We need to change that by clicking on switch location

18. Now , we have go a new entry in package explorer column

19. Double click on the Tomcat Server to load its configs

20. Change the Radio button from “Use Workspace metadata” to “use tomcat installation”.

21 . Dont forget to restart the server. you can right click on servers and go to properties -> restart

22. Now, check with url http://localhost:8080. you will get this page. Its done
